How to Install & Upgrade the Osclass Classifieds Script
A step-by-step guide to launching and maintaining your marketplace website.
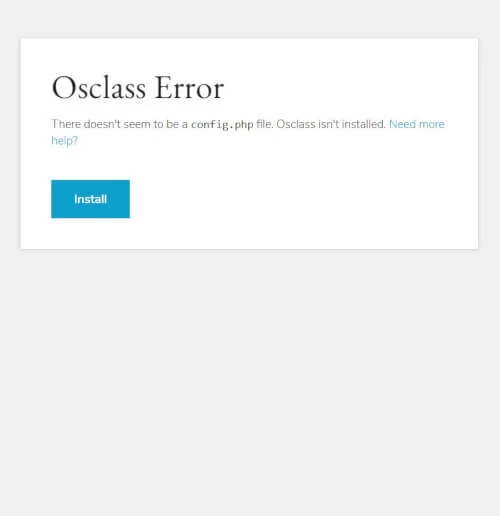
Step 1: Start the Web Installer
After uploading the Osclass files to your hosting server, navigate to your website's URL in a browser. This will automatically trigger the installation prompt.
Click the button to begin the guided setup process for your new classifieds website.
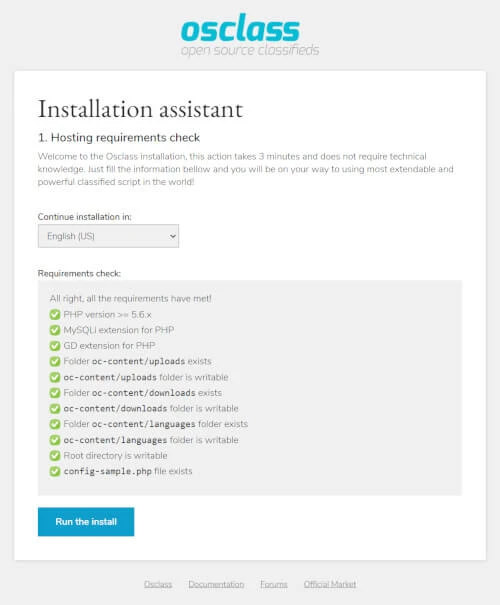
Step 2: System Requirements Check
The installer will automatically check if your server environment meets all the necessary requirements. If any checks fail, you'll need to contact your hosting provider to enable the missing extensions.
Minimum Server Requirements:
✅ PHP version 7.2 or higher
✅ MySQL Database (Version 5.7+)
✅ MySQLi extension for PHP
✅ GD extension for PHP (for image processing)
✅ ImageMagick (Optional, for better image quality)
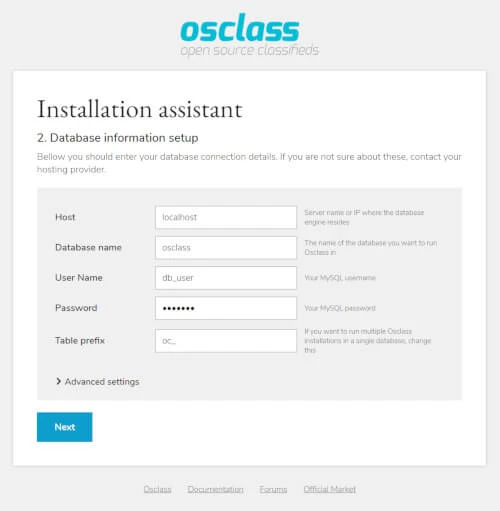
Step 3: Connect to Your Database
Enter the connection details for your MySQL database. You'll need to create an empty database in your hosting control panel (cPanel, Plesk, etc.) first. Then, provide the database name, username, and password here.
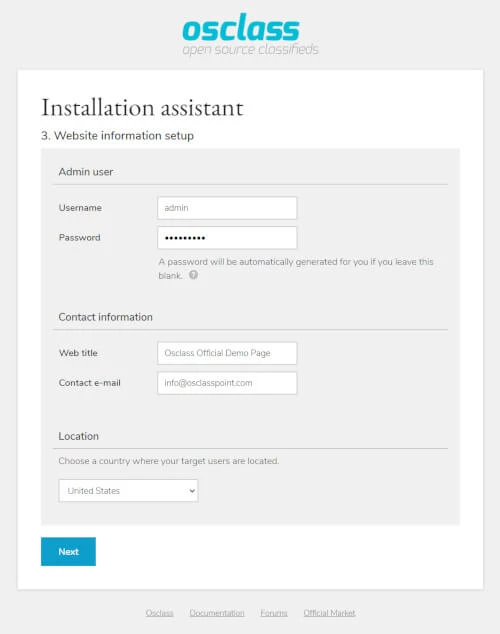
Step 4: Configure Website & Admin Account
Set up the main details for your classifieds site. You'll create your primary admin account (username and password) and define your website's public name and contact email address.
You can also import a location database for your country here to save time later.
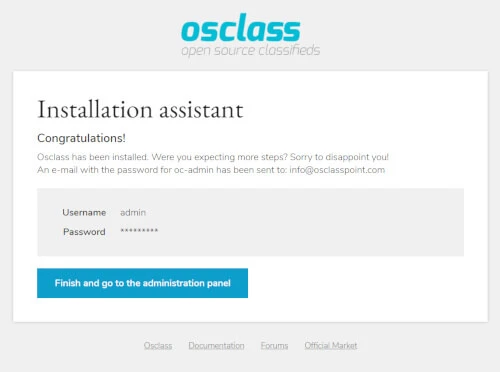
Step 5: Installation Complete!
Congratulations! You have successfully installed Osclass. The final screen will provide links to your new website and your admin login page (oc-admin).
Your classifieds platform is now live and ready to be configured.
Need Help with Installation?
Let our experts handle the technical work for you. We offer a professional installation service to get your Osclass script set up and configured correctly on your server.
Follow these steps to safely update your Osclass installation to the latest version:
Backup everything! Before you begin, create a full backup of your website files and your MySQL database.
Download the latest Osclass version and upload the ZIP file to your server's root directory.
Extract the ZIP archive, overwriting the existing files.
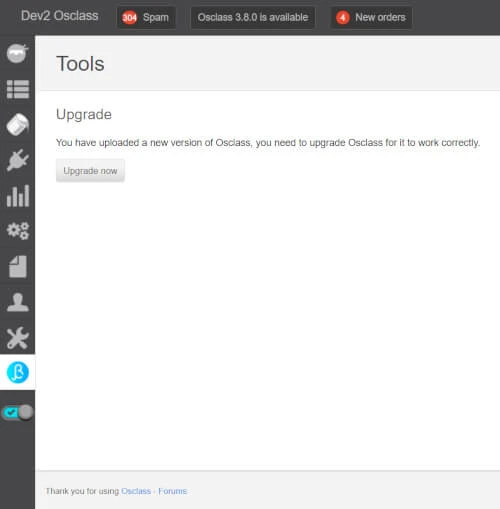
Log in to your admin panel (oc-admin). You will be prompted to start the database upgrade.
Click the "Upgrade Now" button and wait for the process to complete. Your site is now up-to-date.
Frequently asked questions
What server requirements does Osclass need?
Osclass needs PHP 7.2 or newer, MySQL or MariaDB, MySQLi, GD, and writable directories for uploads and cache.
Can Osclass be installed on shared hosting?
Yes. Osclass installs on many shared hosting plans, but VPS is usually better when listings, media, and search filters grow.
How do I upgrade Osclass without losing data?
Back up database and files, keep oc-content data, deploy new core, then run the upgrade in oc-admin. Validate plugins in staging before upgrading production marketplaces.
Where is the Osclass admin panel URL?
After installation, use the oc-admin route shown by the installer. That panel controls listings, users, categories, settings, and upgrades.